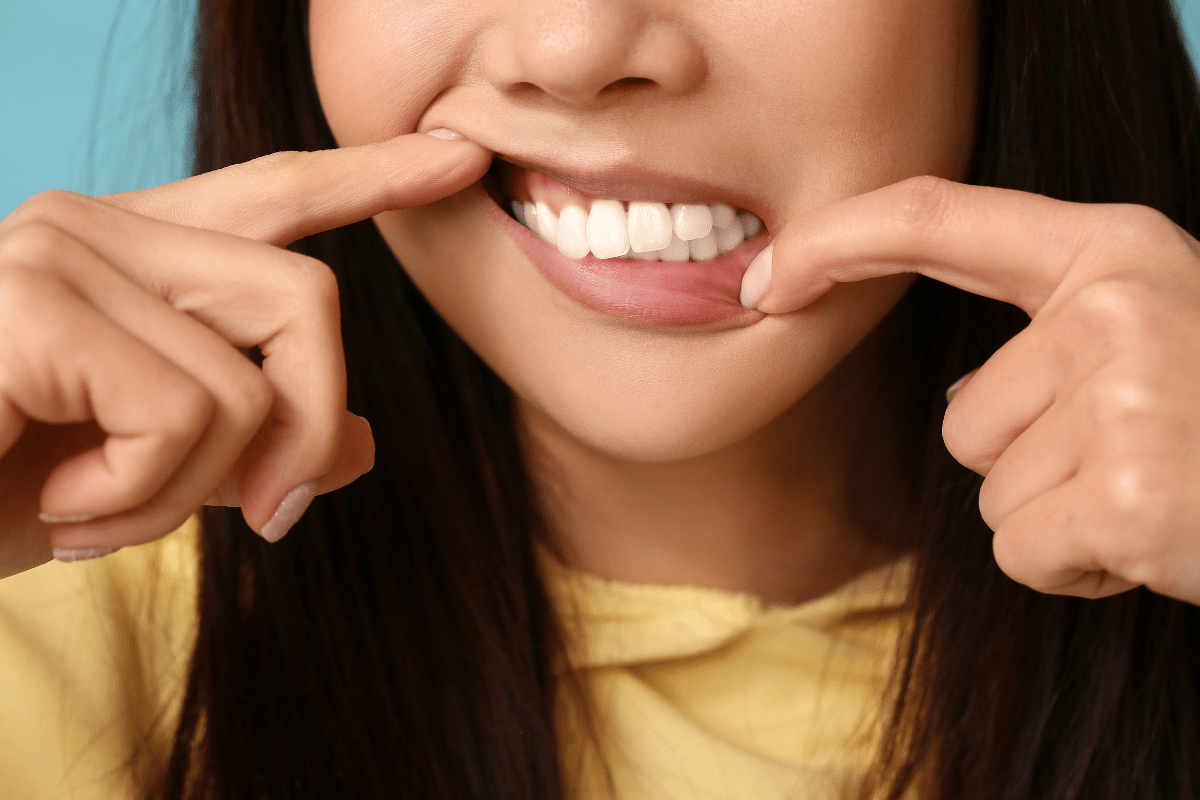
Spring Cleaning Checklist For Your Toothbrush


When it comes to keeping your toothbrush clean, you may have some misgivings. In most instances, the problem comes from fear of bacteria (don’t worry – as long as you keep your brush clean, you don’t need to obsess over them). In others, we find that patients hear a lot of dental hygiene advice from friends that comes with good intentions but is, in fact, confusing because it is inaccurate. Do yourself a favor – take a look at our Spring Cleaning checklist, so your brush is all ready to go.
Item #1: Just Use Water
To clean your toothbrush, use water. Really – it’s that simple. When you’re finished brushing your smile, you will want to let the water run over and through the bristles of your toothbrush. When the brush looks clean and free of debris, you’re done – no special sterilization process or cleaning products required.
Item #2: Remember To Rely On Air, Too
To make the most of your dental hygiene, you want your brush to be as clean as possible, of course. Here’s the important factor after you have cleansed your brush with water: Let it dry. This means you should not place it bristles-down in a cup, throw it in a travel bag, cover it with a toothbrush container, or otherwise. Instead, store the bristles head-up if you use a stand, keep it where it is exposed to fresh air, and avoid moist spaces.
Item #3: Don’t Forget To Replace Your Brush
One of the most overlooked dental hygiene guidelines follows: Replace your toothbrush every three months (or sooner if your brush is wearing out). If you look at the calendar and notice you’ve been using your brush for more than three months at a time, start fresh with a brand new brush and stay on schedule.