Dental Bonding: The Steps


When you make the decision to repair minor cosmetic damage or address esthetic concerns with dental bonding, you can rest assured that your smile will look dramatically improved, while retaining a natural appearance. While this all sounds quite wonderful, you may discover that even the advantages are not enough to help you feel calm and confident about your choice. Patients who are not sure what to expect from treatment often find themselves sidetracked by these details. Rest easy, the steps are simple and comfortable, while yielding exceptional results.
Step #1: The Consultation
To begin, we will meet with you about your smile concerns. We will inspect your smile, ensure that dental bonding is the best choice for your needs, and then create a strategy for making the improvements you need.
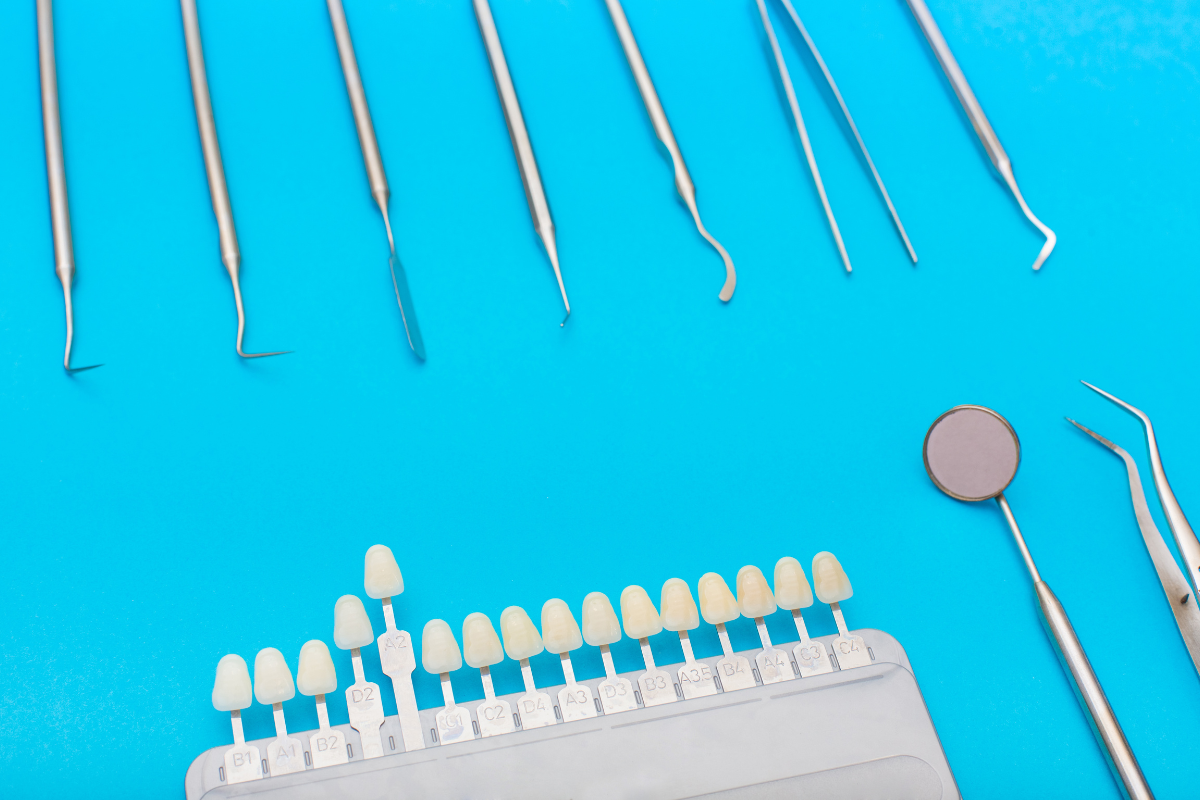
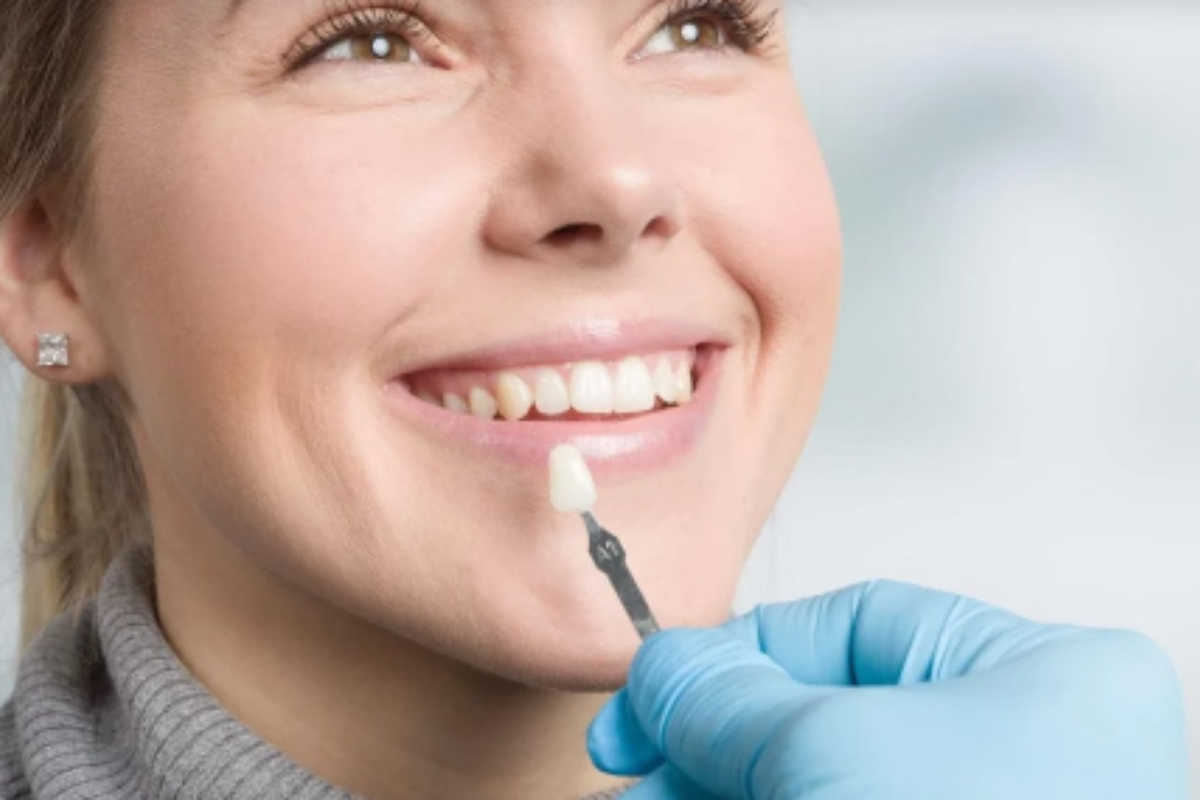
Step #2: Matching The Composite
We will color-match the composite – the synthetic acrylic-resin material we use for dental bonding – to the shade of your tooth. Or, if we are whitening your tooth or teeth, we will customize the shade according to your needs.
Step #3: Placing And Sculpting The Composite
To begin the physical treatment, we will place layers of composite over the target sites in your smile. We can then shape the composite according to your needs. To cover a blemish, we may create a flat layer of composite over the problem area. We may replace missing tissue if you have chipped a tooth. Or, we may fill spaces between teeth or extend a short tooth.
Step #4: Setting And Polishing The Treatment
Once we have completed the desired effect with the composite, we will set it with a special curing light. After the material has hardened, we will use a gentle instrument to polish the material and your tooth tissue for a natural finish and glow.